Advantage:
- Super easy assembly.
- High efficacy.
- Because of the linear shape factor, it can be easy to replace 2' or 4' fluorescent light.
- Light is emitted from a wide area (i.e., not a point source like COB LED). This means more even coverage with less shadowing effect on lower leaves.
- It is narrow, so it can be used for high density application (similar to the advantage of T5HO over T8 florescent bulbs).
- It operates cool, and passive cooling seems to be sufficient (so you don't have to worry about cooling fans breaking down).
Disadvantage:
- The cost for a given total light output is higher than COB, but way cheaper than most commercial products.
Parts:
- LED: Philips Luxeon XF-3535L. ($17.51 from DigiKey)
- Driver: 900mA, 30W constant current driver from FastTech ($12.02)
- heatsink: Aluminum 3/4" C channel (about $13 from HomeDepot)
- 3-prong AC-plug
- 24-gauge wire
- Wago Connector, Wire-Nut (something like this), or soldering
- Optional: Kapton tape (something like this, but you can get it cheaper via eBay) or 2x connector caps (AVX 609176001415100, $0.25 ea)
Step-by-step assembly
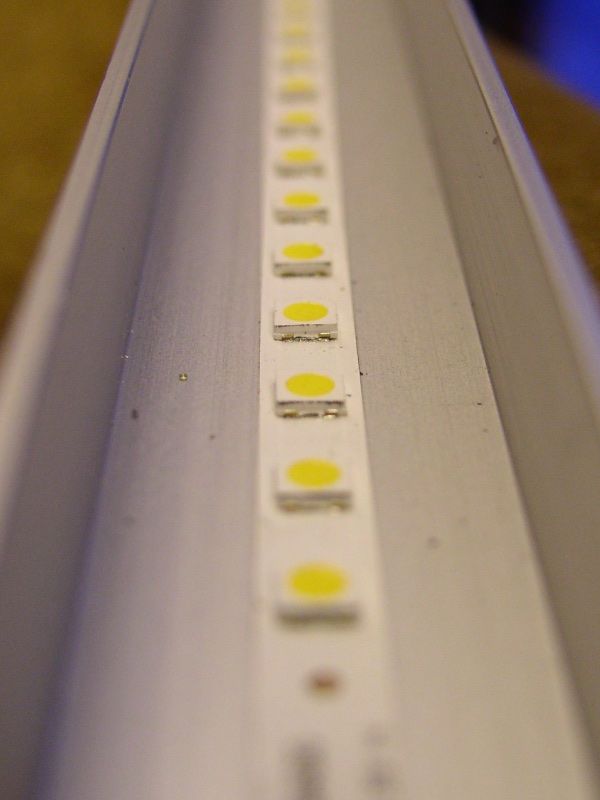
The LEDs come as a flexible strip. Mine is 525mm long.
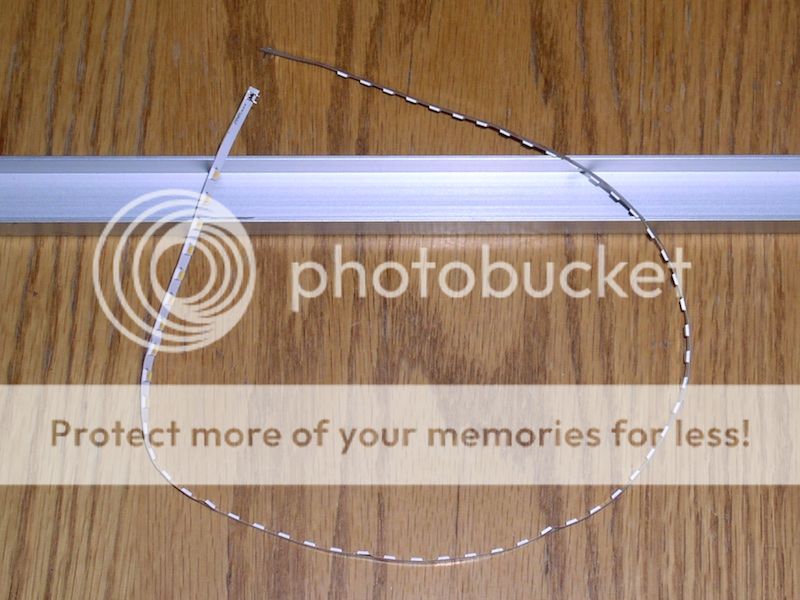
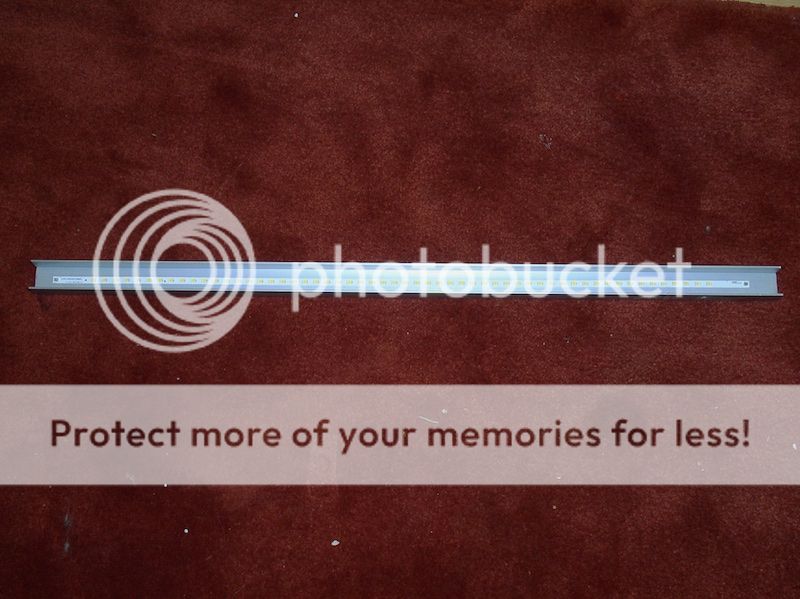
The backside of LED strip has adhesive already, so you peel the backing and attach it to the aluminum C channel like a sticker. I cut the C channel to 22" length with a hacksaw.
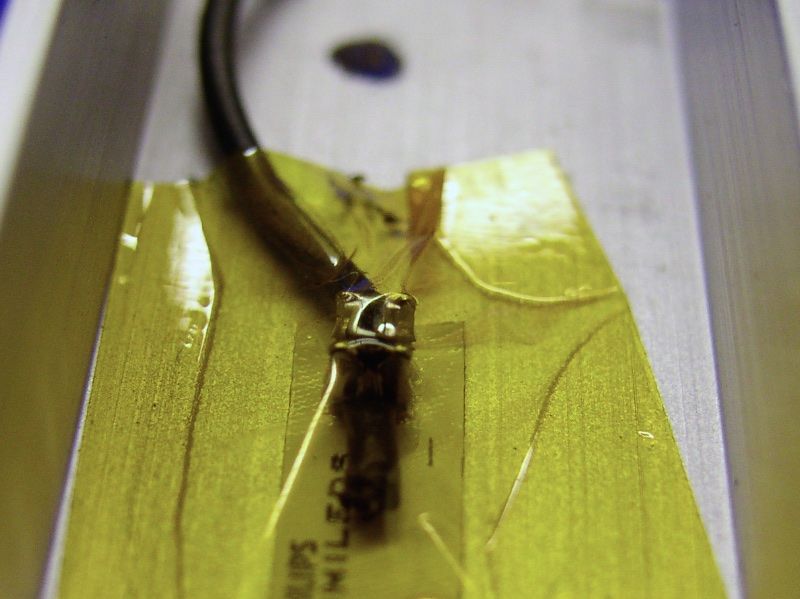
Each end of the LED strip has a connector. One is for + and the other is - (labeled). This connector (AVX 9176-400) is pretty simple to use. If you use 24 AWG (gauge) wires (either solid or stranded wire), all you have to do is push the wire in. You don't have to strip the insulation neither. Here is the data sheet of the connector.

After I pushed in the wire, I used Kapton tape to cover it. It's unlikely to short it, but I happen to have Kapton tape. Or if you want to be fancy, you can use the connector caps (AVX 609176001415100, $0.25 ea).
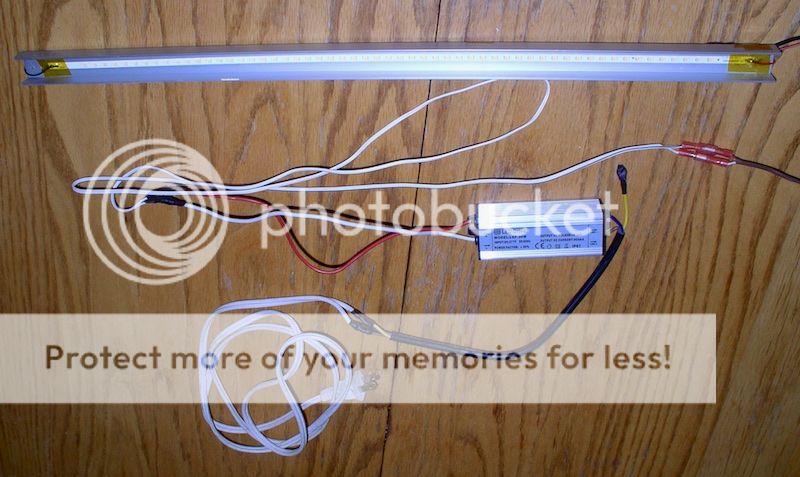
You connect the + connector of LED to + (red) wire of the driver, and - connector to - (usually white or black) wire of the driver. I used this cheap driver (LEF-30W). Note that the sticker is reversed. So the DC output is actually on the left side with red and white wires (even though the label says that the DC out is right side). These are connected to the LED connectors. The wires of the driver are short, so you need to add a couple feet of 24-gauge wires (with Wago Connectors, Wire-Nuts, or solder). Wago connector is probably the easiest.
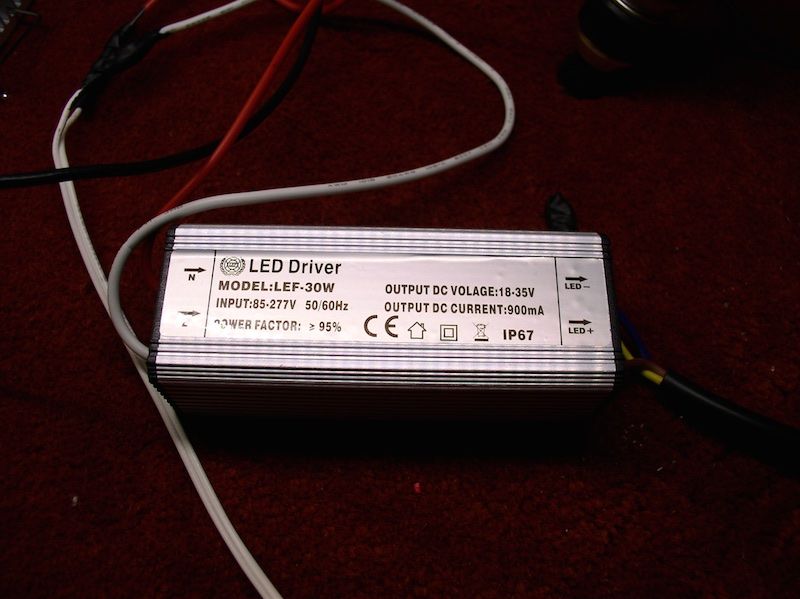
Then the other side of the driver has brown, blue, and green/yellow (yellow with green stripe) wires, which is AC input. You need to connect an AC plug (again, with Wago Connectors, Wire-Nuts, or solder). The round stick is the Ground (refer to the next photo for the AC outlet). Then there are two flat blades; the bigger one is Neutral and the smaller one is Hot (Live). So you want to connect:
- Green/Yellow = ground (round stick)
- Brown = Live/Hot (smaller flat blade)
- Blue = Neutral (bigger flat blade)

That's all you have to do. Here is the assembled and finished LED.
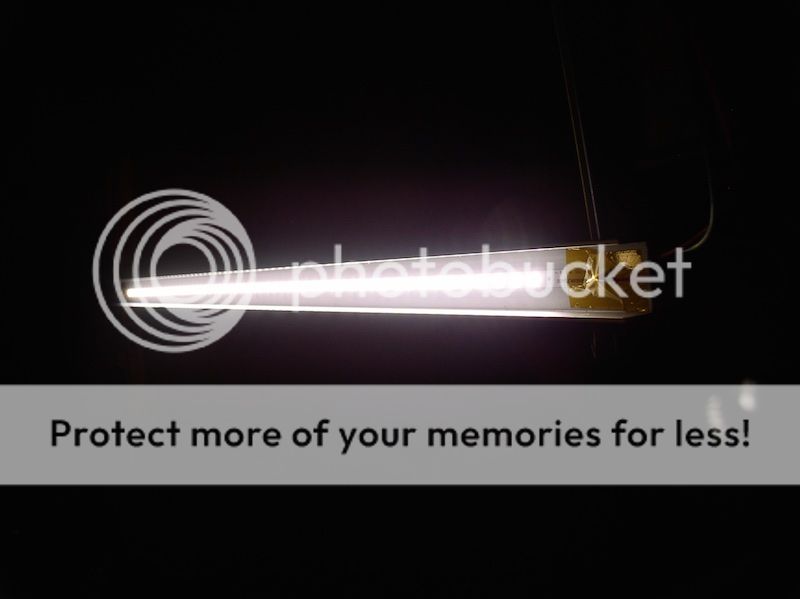
A test run. It doesn't look bright in the photo, but it is pretty bright, so you might want to wear sunglasses.
The next photo is showing the beam angle. At 1 foot distance, it provides about 2' wide homogeneous light. The aluminum C-channel looks like a decent reflector. The Cheerio box is not an ordinary Cheerio box. It is modified, and it is actually a DIY spectrophotometer (basically a bigger version of this).

The aluminum C-channel, which is acting as a heatsink, does become warm, but it is not hot. A better heatsink would improve the efficiency, but the cost will go up quite a bit (LED is more efficient, when it is kept cooler).
Measurement:
Driver:
- AC input: 22.7W
- DC output: Forward Voltage (Vf): 21.38V, 906mA
- Driver efficiency: 85.3% (a bit low-end)
Light measurement at 1' away from the LED in the middle:
- Photosynthetic Photon Flux Density (PPFD): 110 µmol m-2 s-1 with Li-Cor Quantum PAR sensor, LI-190 (a link to the newer version of this sensor)
- Dr.Meter LX1330B lux/fc meter : 655 footcandles
Comparison against fluorescent T5HO:
The LED is about 2' long. So I'm comparing PPFD of XF-3535L against 1x 24W 2' T5HO. (actually consumes about 18.15W per bulb in 4 bulb fixture).
| type | age (months) | PPFD (µmol m-2 s-1) at 1' | watt * | PPFD/W |
|---|---|---|---|---|
| XF-3535L | 0 | 110 | 22.7 | 4.85 |
| AgroBrite 6400K 24W | 0 | 58 | 18.15 | 3.20 |
| AgroBrite 6400K 24W | ~24 | 33 | 18.15 | 1.82 |
| Odyssea Plant 24W (purplish "plant" light) | 0 | 81 | 18.15 | 4.46 |
| Odyssea Plant 24W | 3-5 | 63 | 18.15 | 3.47 |
| 4x T5HO bulbs in 4-bulb fixture | not new | 160 | 72.6 | 2.21 |
PPFD/W column is somewhat related to the efficacy, but the actual efficacy is difficult to compare. Because the spread of the beam is different between LED and T5HO, a point measurement isn't sufficient.
However, with a rough calculation, 2x XF-3535L (45W) can outperforms (up to >30% more light than) 4x 24W T5HO (72.6W). So this will significantly reduce the electricity cost. Additionally, the inital cost of this DIY LED is similar or cheaper than a 4-bulb 2' T5HO fixture!
Finally as you can see, the output of T5HO bulbs can decrease significantly over time, and the bulbs need to be replaced. Those special T5HO "plant" bulbs do seem to do well initially (compared with standard 6400K bulbs), but the output decayed quickly within a couple months. This quick decay may be partly due to the hot operating condition. The fixture was sitting directly on a plexiglass of an enclosure, so the bulbs didn't have much air flow. I do not know the output decay of XF-3535L, but it should last much longer than fluorescent light.
Basically, there is no reason to go with T5HO any more.
Comments:
There are several versions of XF-3535L. I chose 4000K version. This can do 147 lumen/W if you are driving it at 800mA. I couldn't find a cheap 800mA driver, so I'm slightly driving it harder (900mA). This means the efficiency (i.e. the amount of energy converted to light instead of heat) is a bit lower than 147lumen/W. With any LEDs, if you drive them harder, the efficiency goes down. Warmer color temp like 3000K may have slightly better light suitable for plants because it has more red light. The lumen/W goes down if you use warmer light, but lumen isn't a good measure for plants. From several measurements I have done with LED (with PPFD of PAR, not fc or lux), the output relevant for plants (PAR) doesn't differ too much between 3000K and 5000K versions. So I think using 4000K or something lower than that is optimum. Also XF-3535L comes in several CRI. Stick with the lowest CRI for the given corrected color temp (80 CRI instead of 85 in case of 4000K). Higher CRI ones have lower output for plants. There is also 4' version (and 900mA driver works well), so this would be a good candidate to replace 4' 54W T5HO.
Note that the performance of this LED is impressively high. But the price is relatively high compared to COB LEDs like Cree CXB3070 or Bridgelux Vero series (I recently assembled Vero 29, and I'm very impressed by it, I'll try to post more about it when I get some time). DIY COB-LED is pretty easy, but it is slightly more time-consuming than this strip light (e.g. drilling holes and tapping). Other high performing COB LEDs exist (e.g. Citizen, Samsung), but I can't get a few samples. I also heard that improved LEDs are coming out pretty soon. It is difficult to compare the performance between COB and the linear XF-3535L, but I'm guessing that they are pretty similar to each other. So if you are for ultimate cost-performance ratio, go with COB.
Note that there are lots of other "strip-light"-style LEDs. Most others are not worth using for plants because their efficiency is really low (I haven't measured it, but the efficiency is similar to or lower than fluorescent light).
Naoki: People have asked me how I wire my COBs and I just refer them to your blog because it's so detailed and helpful! Thanks for writing this article. I was wondering whether you think you can cut these strips in half. I was thinking of cutting a strip in half and soldering them back together but side by side, to generate a shorter but double strip array.
ReplyDelete-Calvin
Thank you for the comment, Calvin. With this version of XF-3535L, I don't think that you can easily cut and solder. But if you want a shorter version, they make 30cm version. Part number is L235-xxyyAHLCBBAC0, where xx indicates CCT (40 for 4000K, 30 for 3000K, 50 for 5000K etc) and yy indicate CRI (e.g. 80 for CRI80). Here is the link to 4000K CRI 80 (my pick): http://www.digikey.com/product-detail/en/L235-4080AHLCBBAC0/1416-1352-ND/4966155?WT.z_cid=ref_octopart_dkc_buynow&site=us Nominal current is around 600mA at 18V. I quickly looked at Meanwell driver specs, but I didn't find an affordable perfect match, though. Maybe connect the 2x 30cm strip to APC25-1050 in parallel (so each strip gets 525mA)? But these lower wattage drivers generally have lower AC/DC conversion efficiencies.
ReplyDelete